Putting skins on with skis on (free pivot binding advised)
Shaggy said come over early and we’ll go on a tour the day before. A foot fell on an older foot so we hit the road early. Perfect.
Getting to the “gate” involved two-stroke smoke. Saw my first snow-bikes in action. Those guys are destined to lead the avalanche fatality numbers in the future. That’s a lot ‘o uphill hog power where you can get in way over your head before you realize it. Totally worth it for a Snapchat and a Tweet though.
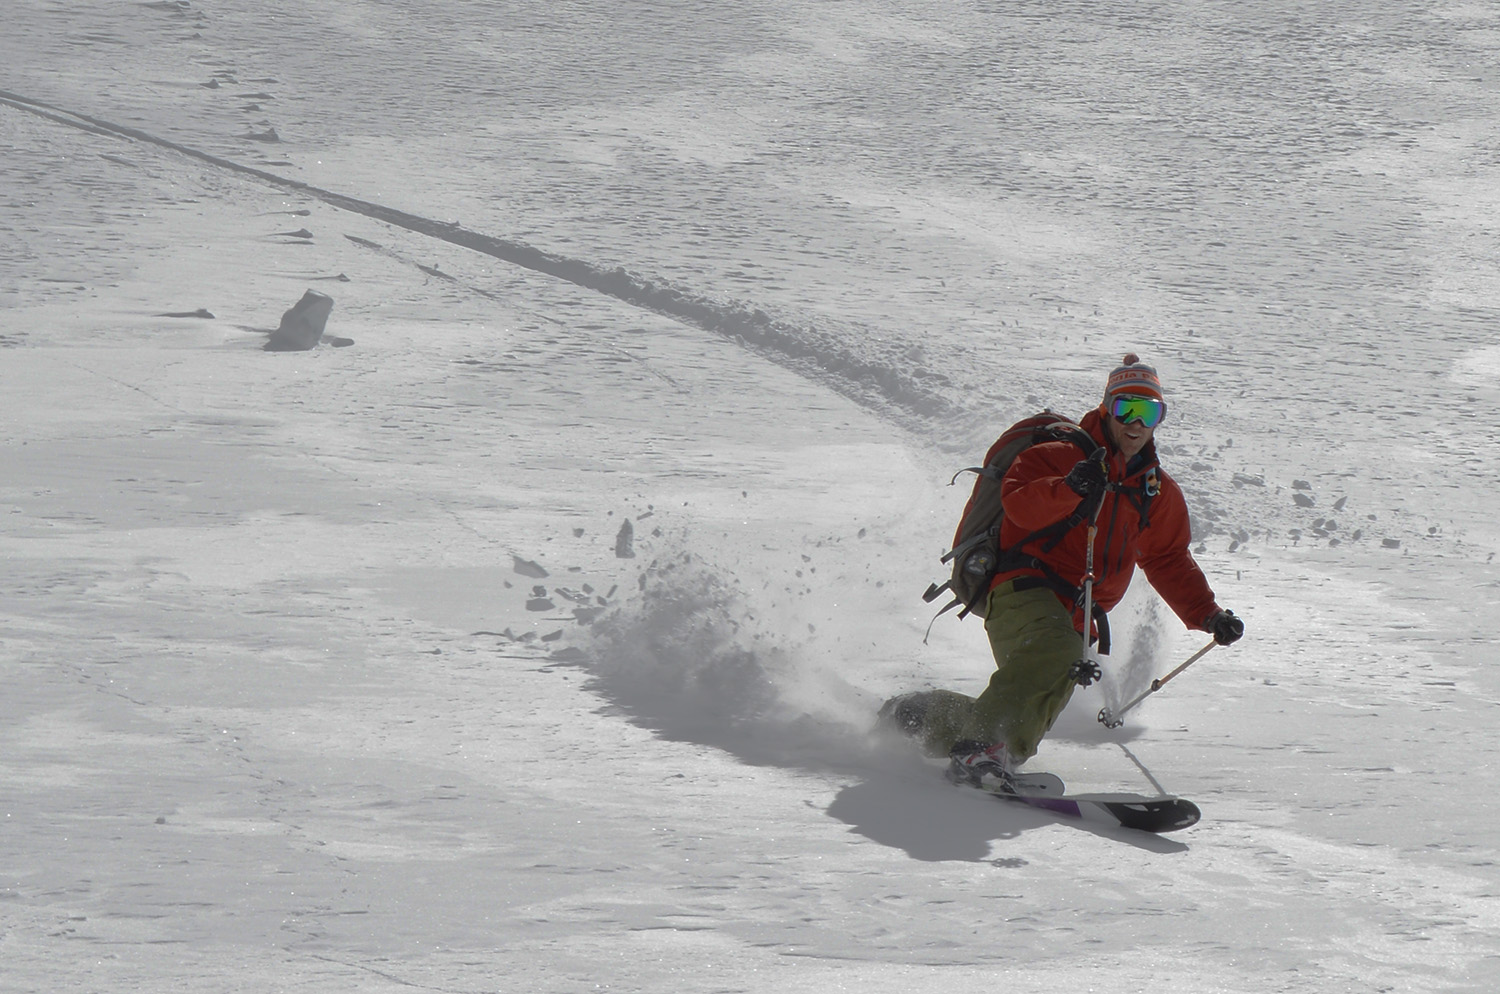
Steamboat backcountry. Tele by Craig Rench.
Anyway, after going mobile to the boundary we switched to skis and skins and proceeded to lap up a sweet 500-foot gladed slope that bobbed down between 40 and 25 degrees to a creek below. After sinking to my hips putting skins on I looked up to notice Craig Rench calmly putting his skins on with his skis on, his boot firmly connected via the green one, an O1 in free pivot mode.
âWhoa, Whoa, Whoa,â I said. âDid you just put your skins on your skis with…..?â I didn’t even need to finish the question. âYou did!â I exclaimed. âYou badass!!!â
Meet Craig Rench, the man who can. Put skins on. With skis on.
Chant with me now…
Put skins on. With skis on.
Put skins on. With skis on.
Put skins on. With skis on.
The man who can.
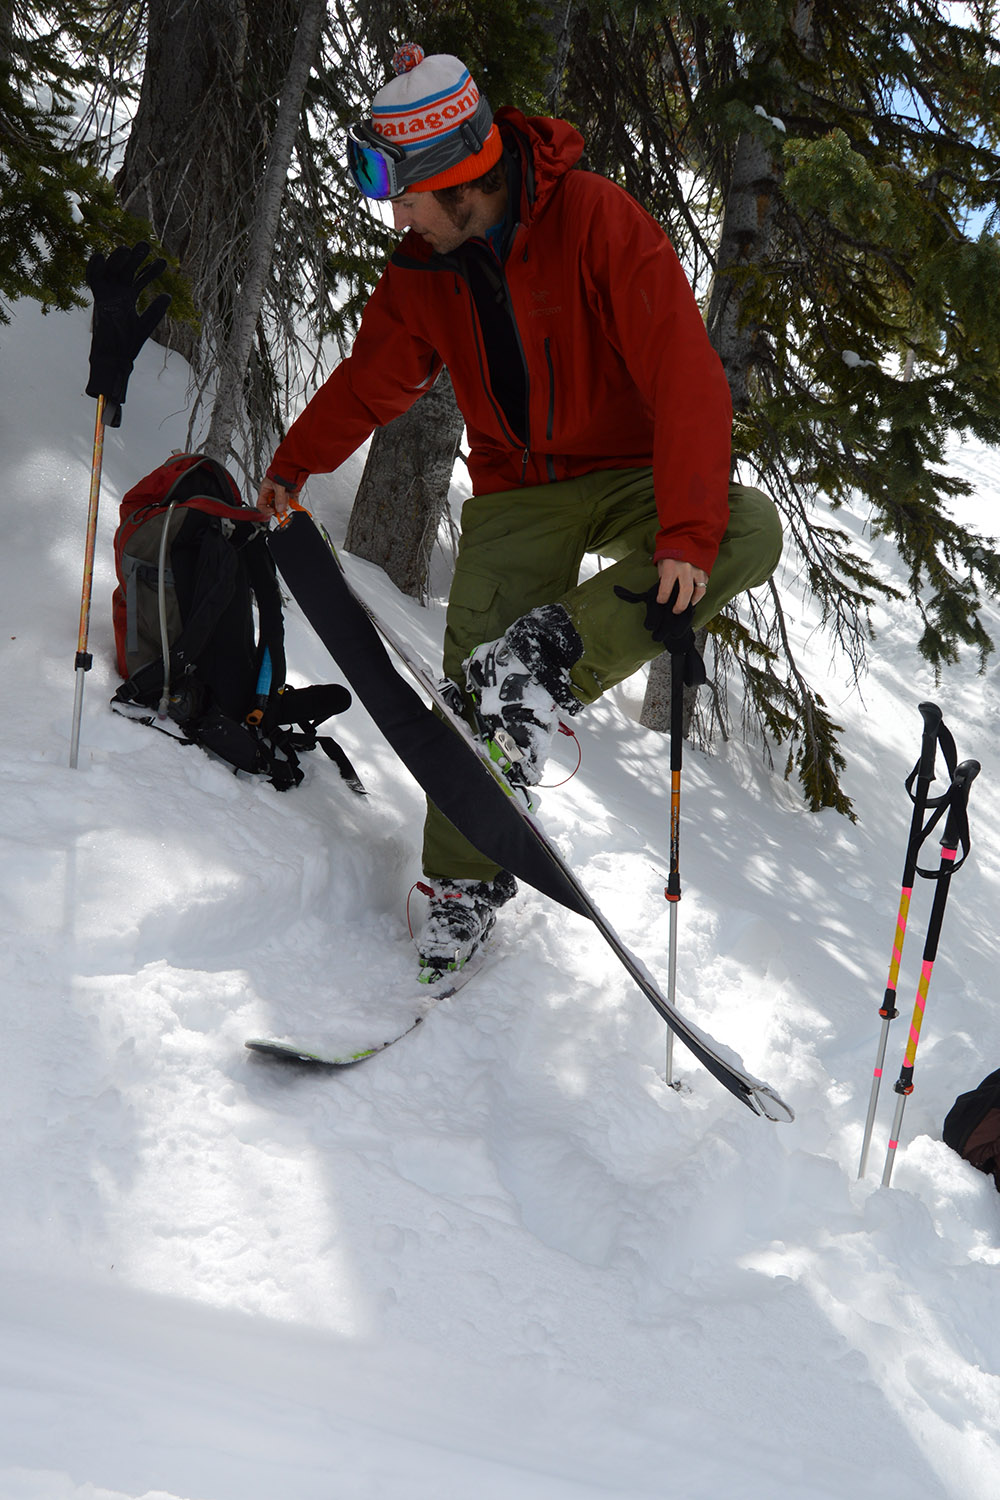
Step 1: Get balanced on one ski, poles ready at your sides, and lift up one ski and set the tail in the snow about where the tip of your other ski is.
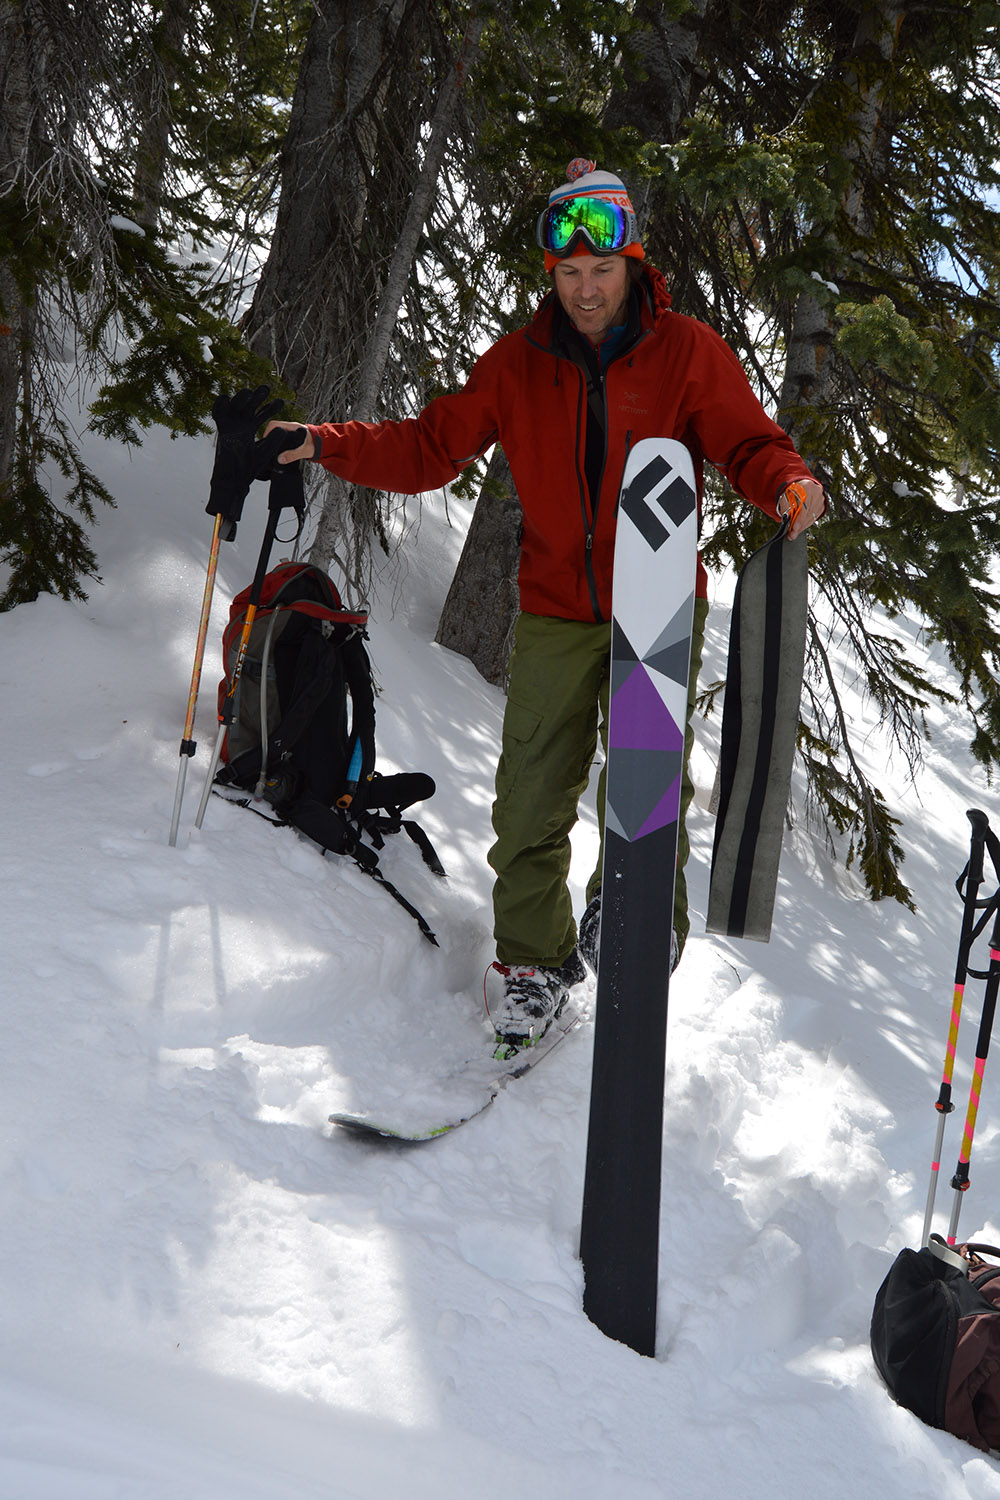
Step 2: With the ski tipped back a bit, place the tip hook-wire loop-thingy over the ski’s shovel and drape the skin down the length of the ski. Align it so you can’t see any skin on the sides and then with your âfreeâ hand, wipe the skin to get it to stick for the upper half.
Easy there cowboy. One hand on the pole for balance while the other hand places the pre-folded skin over the tip of the ski.
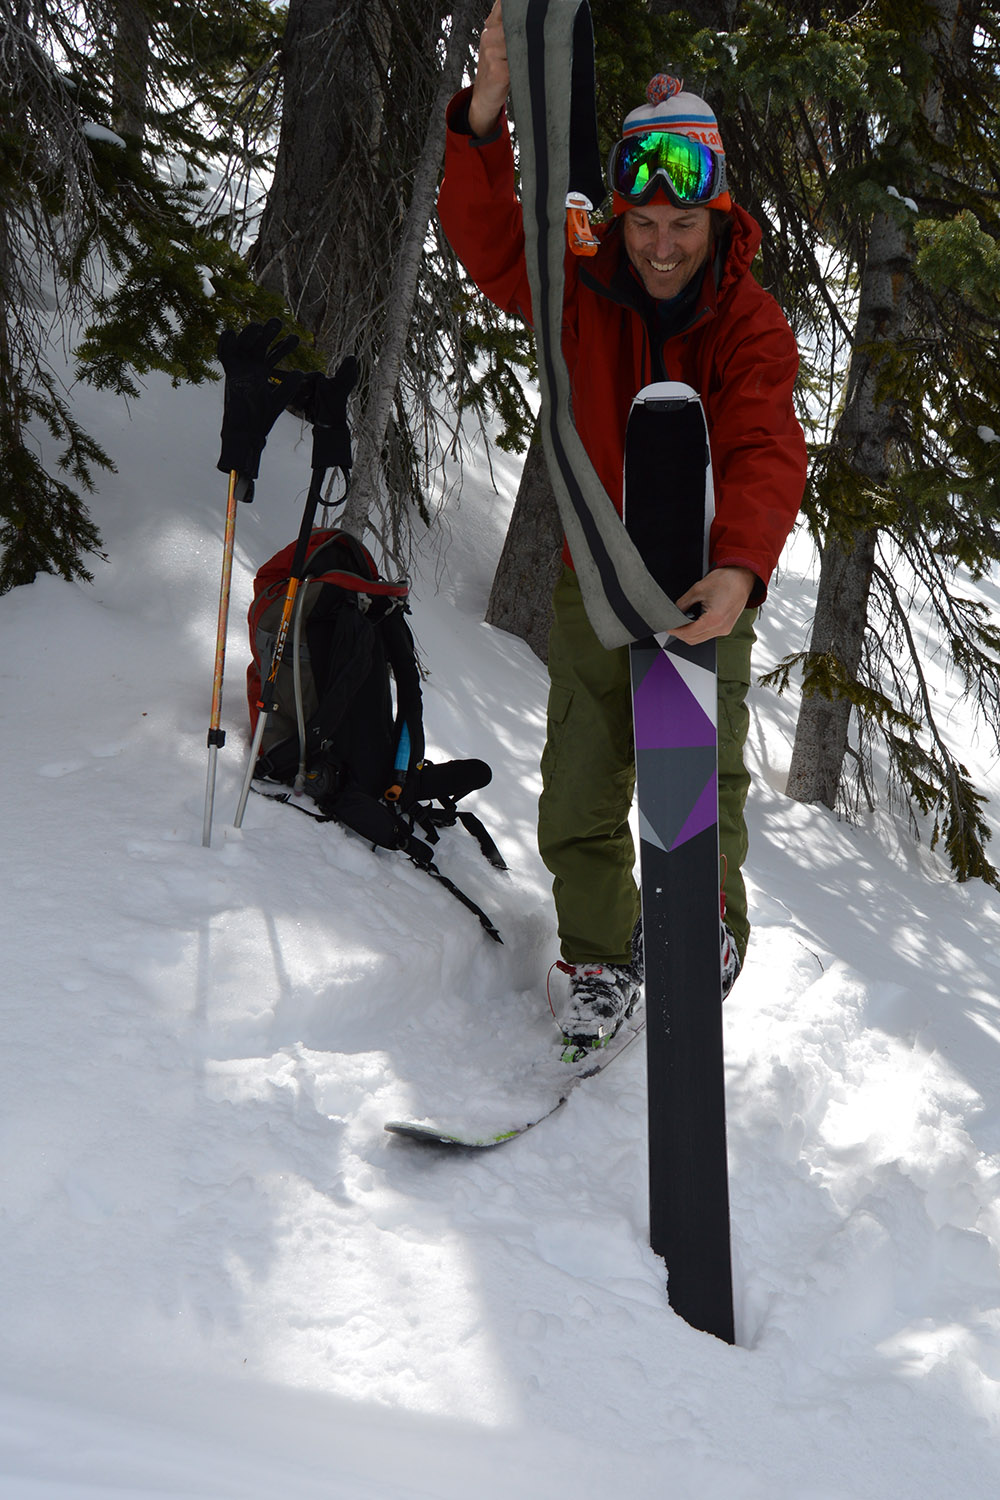
Before you pull the next step, make sure the hand that placed the skin on the ski is leaning on a ski pole for stability to do the next move.

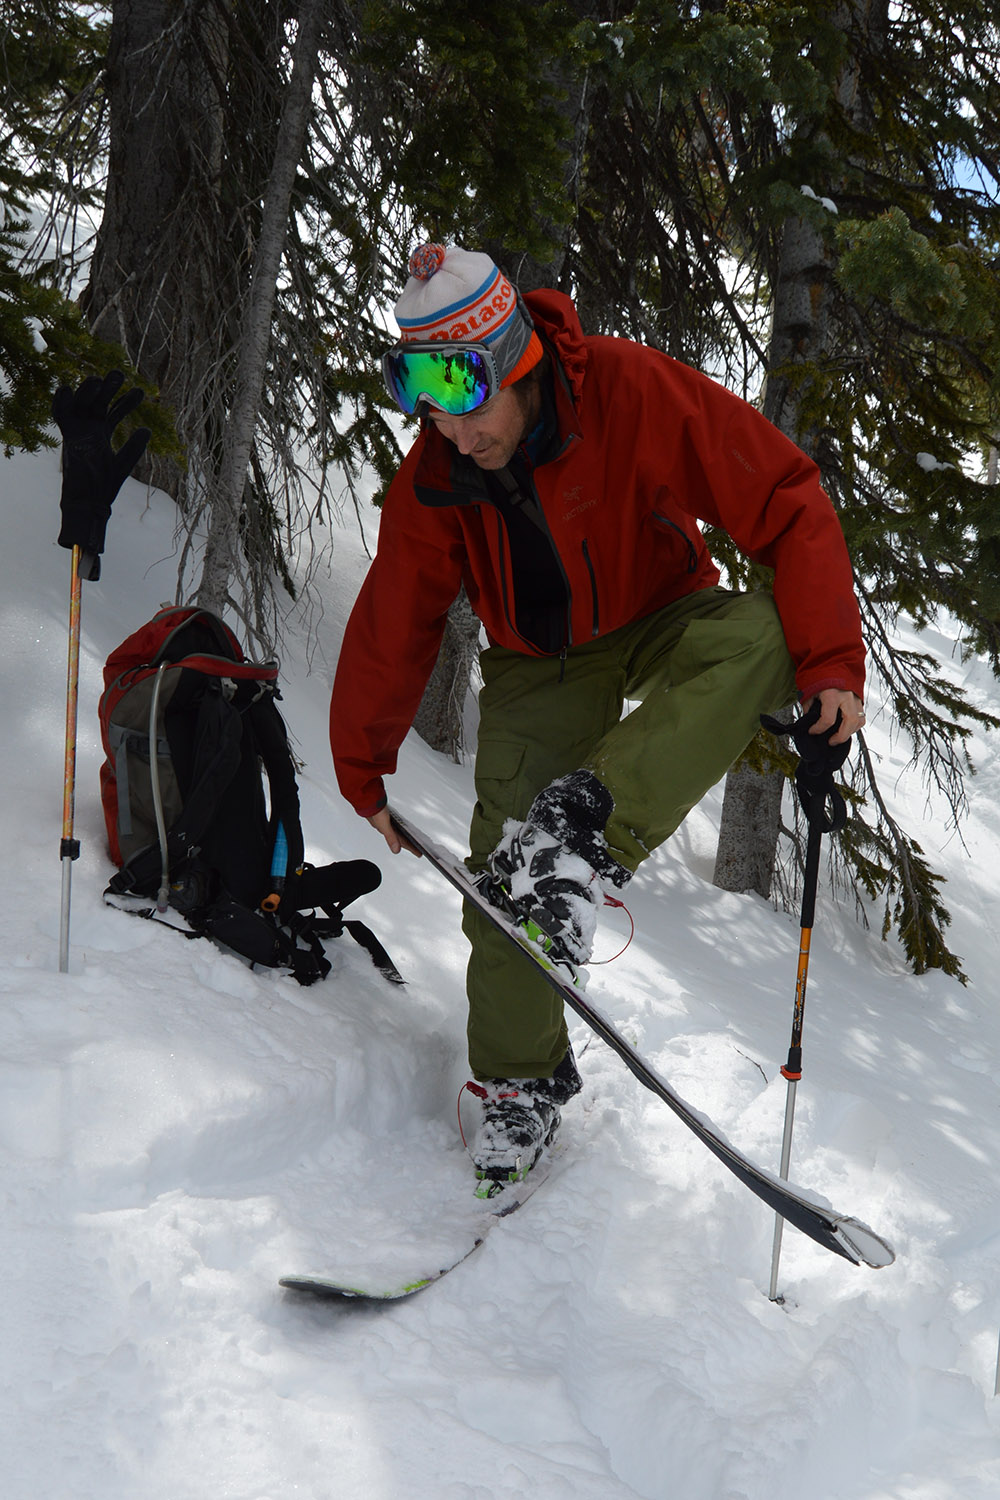
Get ready to swing your ski up and across to clip the tail….
Step 3: Lift the ski forward and twist your ankle to bring the ski across and in front of the leg you are so well balanced on. For some, this move is the beginning of ripping the hide. Appropriately it is nearly the end of the inverse operation â as it should be. 😉
“See how easy that looks?,” he laughed evily.
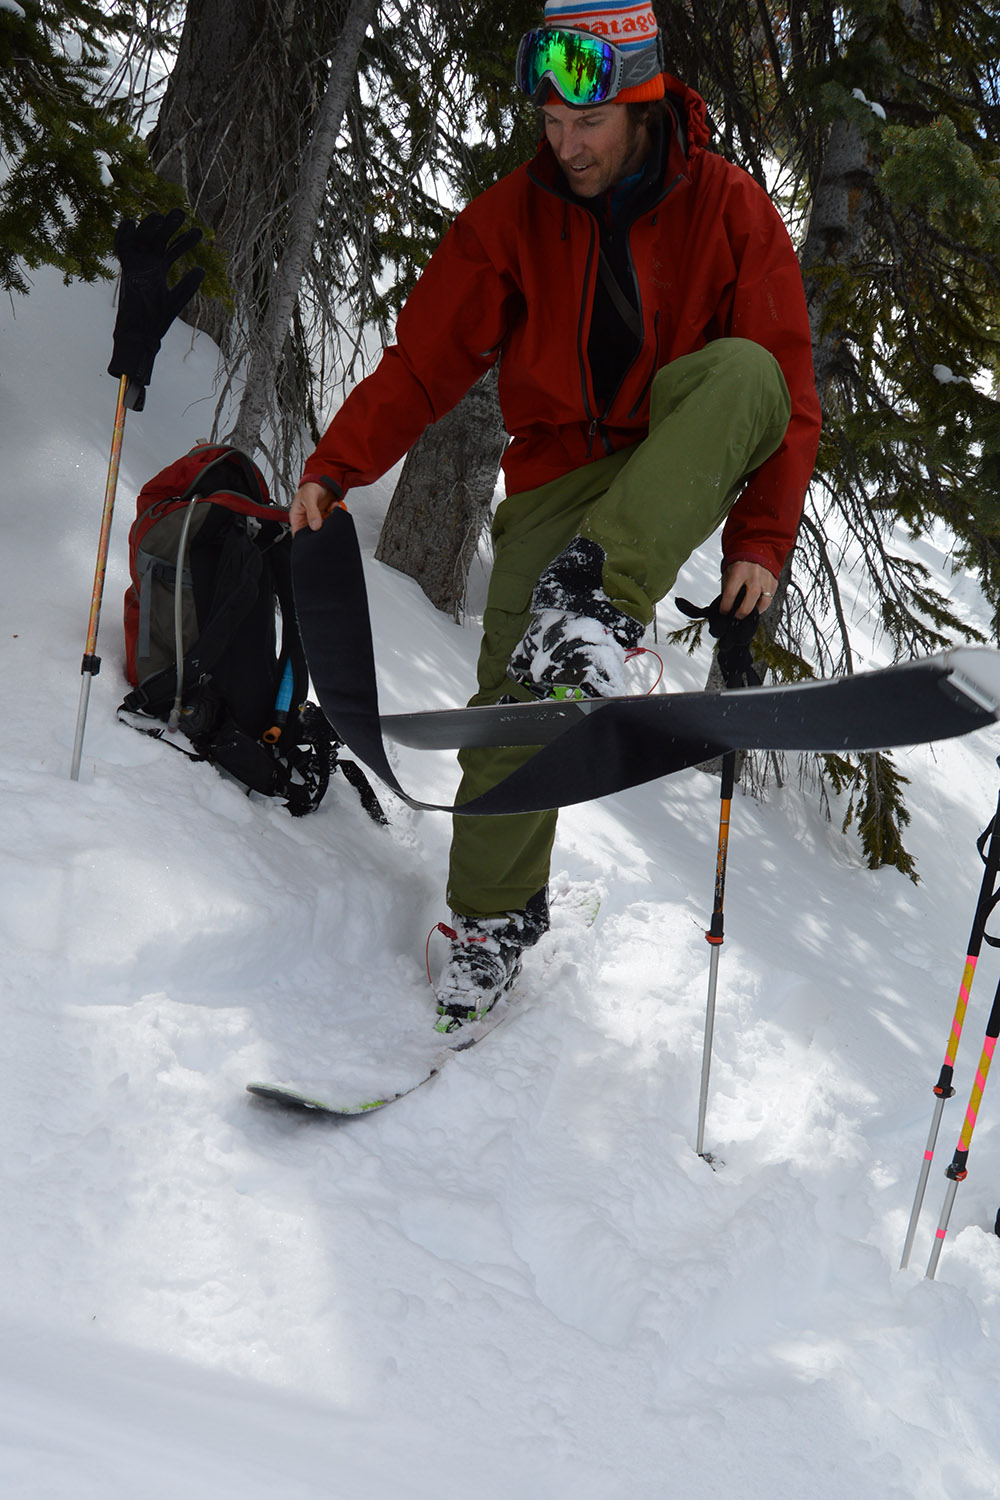
Step 4: With the ski twisted sideways out in front, attach the skin hook over the ski tail.
Rounding the corner and headed for the finish line.
Step 5: Swipe the base of the ski to adhere the skin to the base.
Ba da boom!
Ta daaaaaaaa!
Put skins on. With skis on.
Put skins on. With skis on.
Put skins on. With skis on.
Put skins on. With skis on.
Put skins on. With skis on.
Put skins on. With skis on.