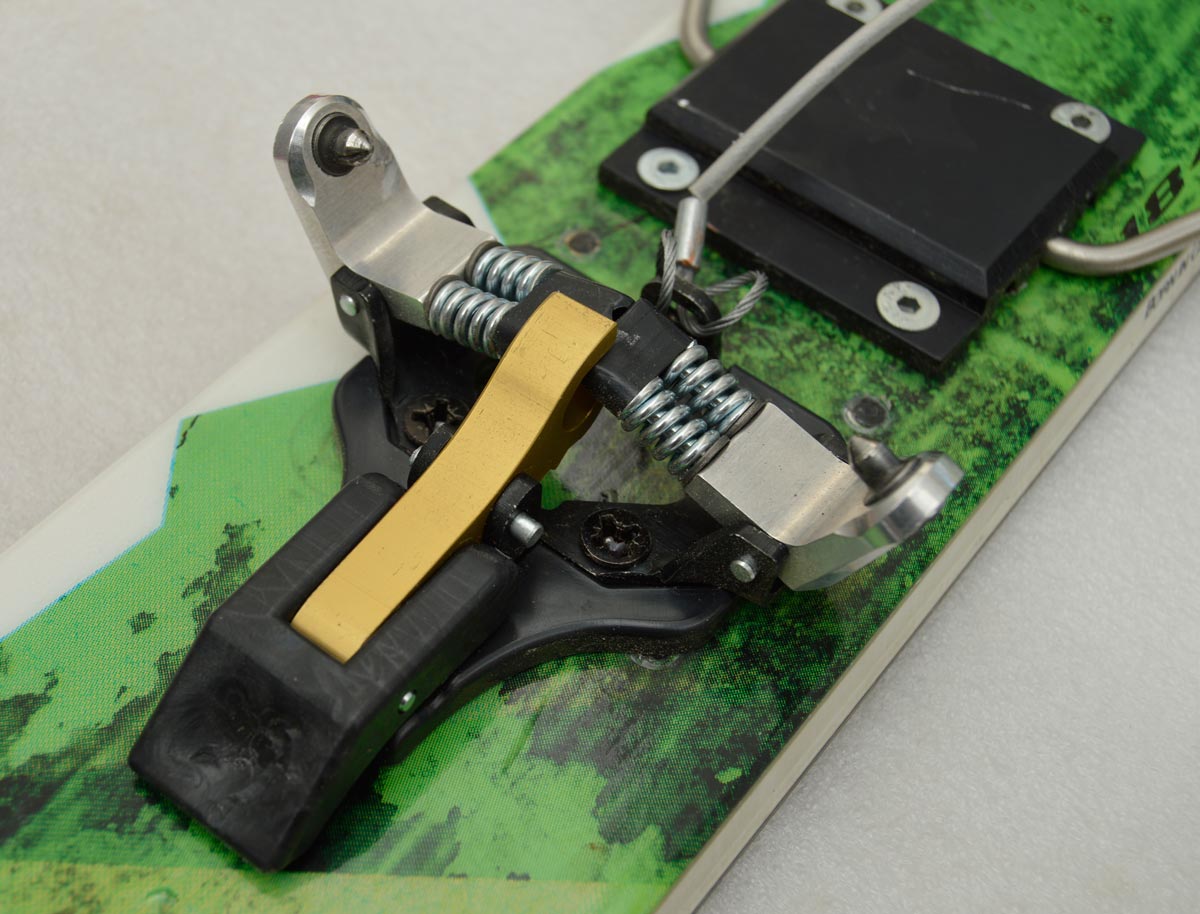
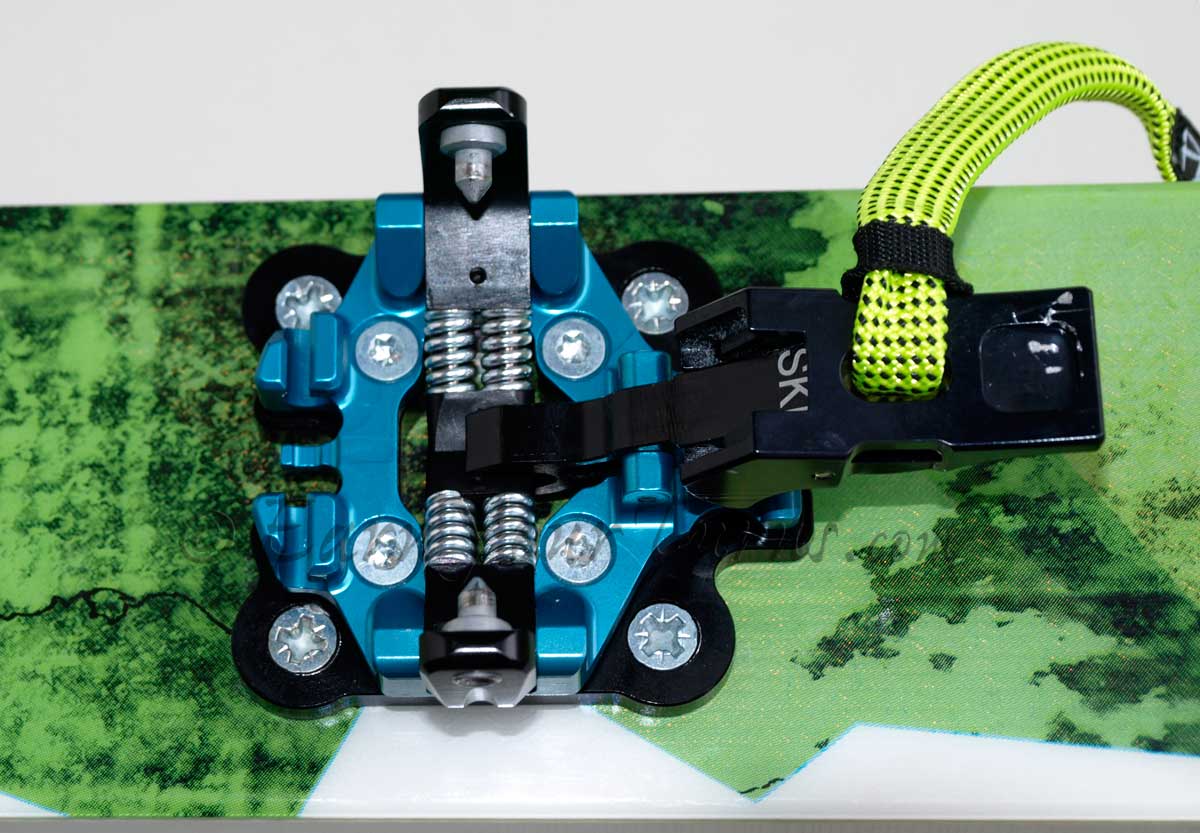
OMG’s telemark tech toe.
Key Considerations
That said, the two things you want to consider when selecting a tech toe are:
- the lateral holding power (see table below),
derived largely from the springs used under the toe arms or jaws. - how easy the binding is to get in to.
The Ion 12 tech toe. Notice how much higher these pins are.
Ease of Entry
What IS perceptible is how easily you can step in to the toe. There are four things affecting this:
- Pin spacing when open
- The fulcrum point of the pin “arms”
- Spring rate (stiffness)
- Alignment guides
Pin spacing and alignment tabs help with positioning the boot for closing the pins on. Alignment tabs help position the boot fore and aft; when the front of the boot butts up against the tabs the boot is positioned longitudinally. The closer the pins are when open, the easier it is to adjust the angle of the boot so it is perpendicular to a line connecting the pins when you step down.
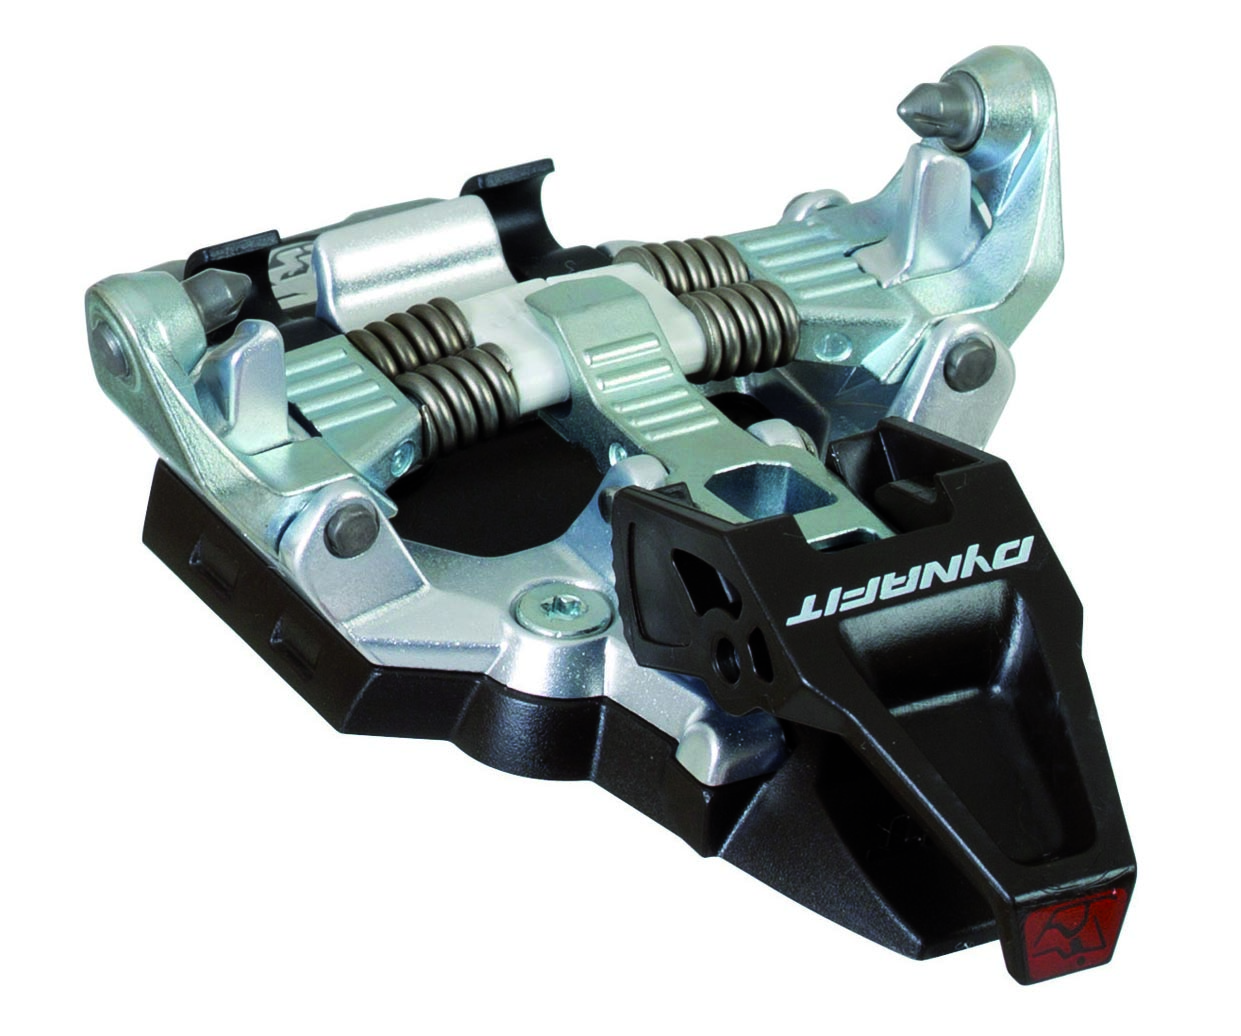
Dynafit’s Radical toe, v1.0, currently known as the Speed Radical toe.
Marker’s Kingpin (and unproven Alpinist) and Dynafit toes with the “power towers” (Radical 1.0, Rotation, etc.) are not far behind. The Salomon binding (manufactured by Plum) has a really strong spring with a slow closure rate, but their wide alignment bar helps keep the boot steady when stepping in. After that you have a plethora of classic Dynafiddle toes, ones that require you to learn how to put a pin in one insert and then skillfully rotate your boot down till it connects with the other side. It’s not an insurmountable skill to acquire, but you will occasionally still have moments of frustration when your step-in fiddle feels out of tune. Of these legacy style toes, the OMG toe requires the greatest “fiddling” proficiency.
There are bound to be many new developments in tech toes after the publication of this article. Use the criteria above when determining what toe to use for building your own DIY TTS binding, and ask around.
Relative Performance Comparison (circa 2017)
| Manufacturer | Model | Relative Pin Force | Relative Ease of Entry |
| Yak | Plum | #1 (strongest) | 4th |
| Salomon | MTN PIN | #1 (est. tie) | 3rd |
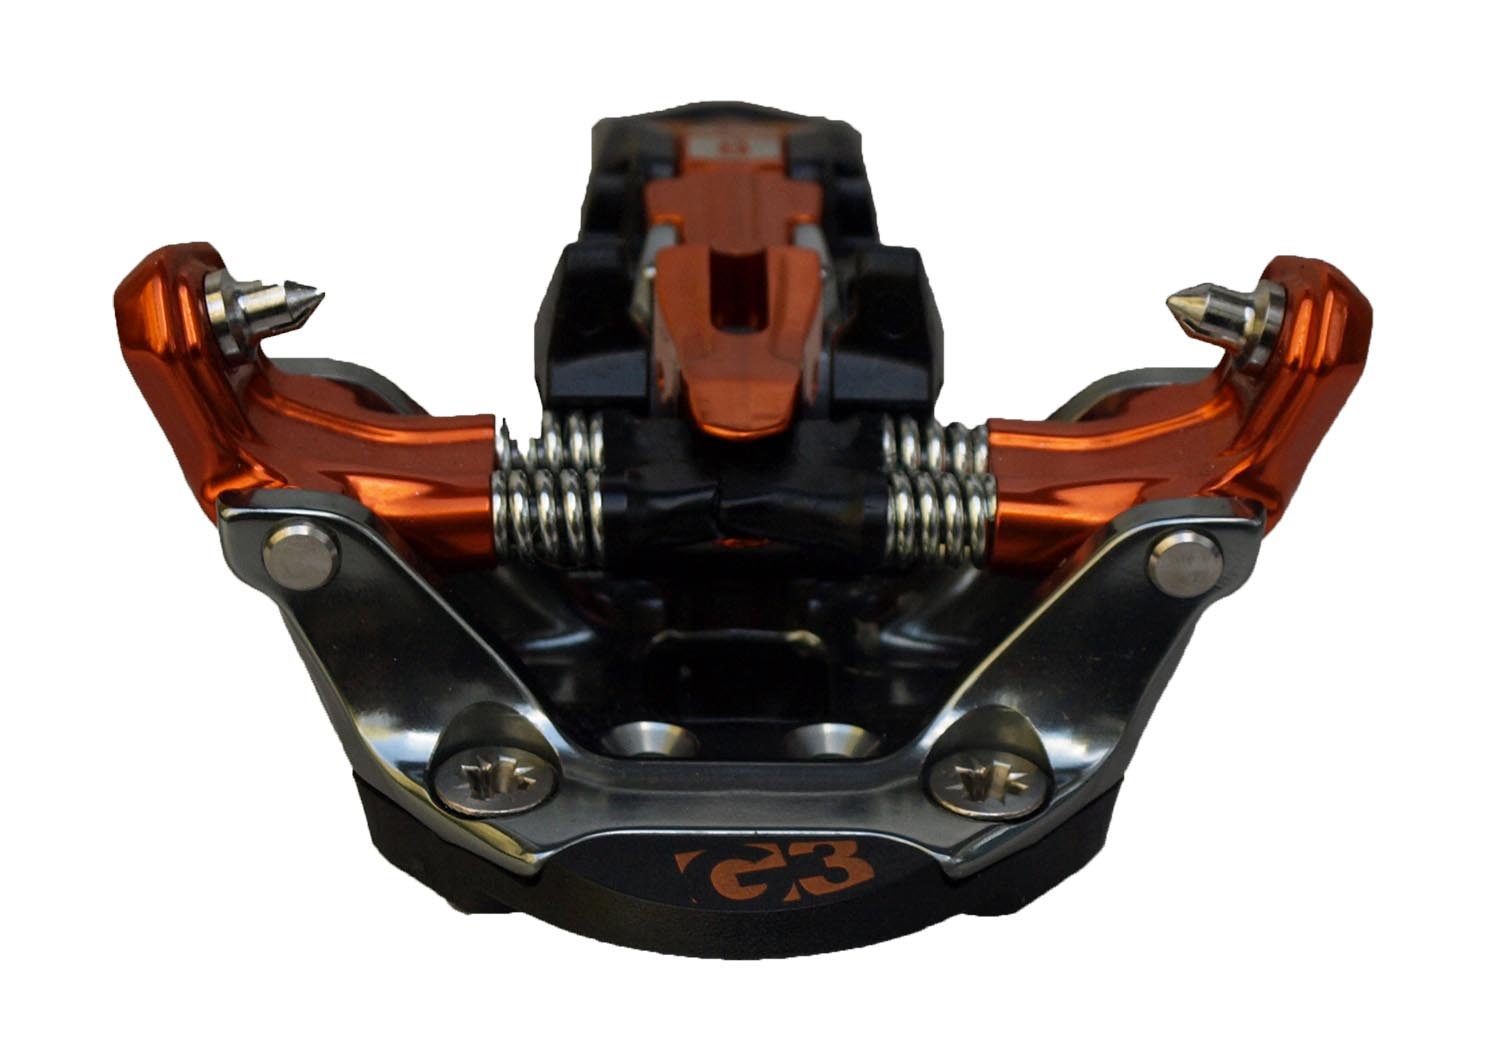
| G3 | Ion 12 | #2 | 1st (easiest) |
| Marker | Kingpin 13 | #3 | 2nd |
| The-M-Equip. | Meidjo | #4 (est.) | 2nd |
| Dynafit | Vertical | #5 | 4th |
| Dynafit | Radical v1.0 | #6 | 2nd |
| OMG | TTS | #7 (est.) | 5th |
[Note: Fritschi’s Vipec toe is not included in the list above for at least two reasons. First, the pins can and will slide laterally without opening. They’re designed to do that to work with a heel that does not rotate, yielding lateral release at the toe like the majority of alpine bindings. Secondly, the release tension comes from a spring behind the pins inside the toe housing that extends back to where currently available cable systems would connect. Another contender for a PhD in telenurd absurdity.
Dynafit’s Radical 2.0 toe is not included because it allows for rotational movement of the heel. Cursory analysis suggests this will yield poor lateral control while telemarking.
The toes with “estimated” retention force were not measured by Lou Dawson, but are estimated by the author based on field tests. ]
“Safety” Release
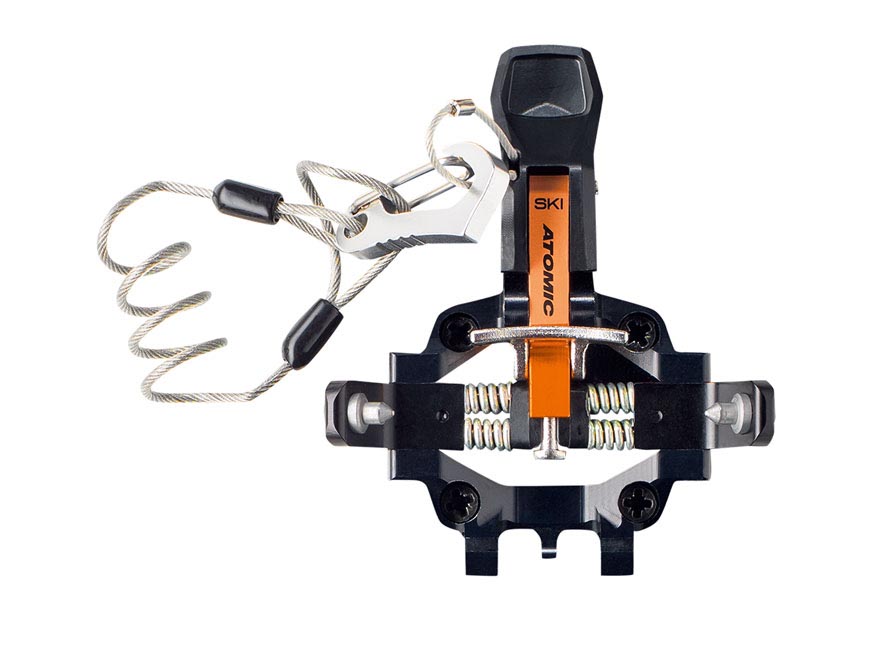
Amer Sports tech toe, as either the Atomic Backland or Salomon MTN PIN.
The Plum Yak toe.
TTS Configuration
There are other considerations to the toe besides holding power and ease of entry. There is also ease of configuration or assembly. For that, you need to consider the height of the pins above the ski and the cable system you’re matching with the toe, the subject of the next post in this series on DIY telemark tech bindings.
Note: This article first appeared on Telemarkskier.com in July 2017. It is reprinted with permission. Some editorial changes have been added for clarity.
Related Posts:
The State of 2-pin Telemark Bindings
© 2017